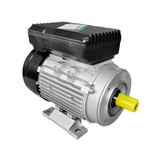
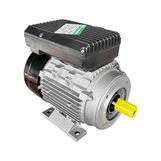
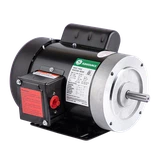
Hey there! As a supplier of One Phase AC Motors, I often get asked about how to wire these motors. It's a crucial part of getting the motor up and running, and doing it right can save you a lot of headaches down the line. So, let's dive into the nitty - gritty of wiring a One Phase AC Motor.
Understanding One Phase AC Motors
First off, there are different types of One Phase AC Motors out there. You've got the AC Single Phase Induction Motor, which is super common. These motors work on the principle of electromagnetic induction. They've got a stator that creates a rotating magnetic field when an AC voltage is applied, and a rotor that follows this magnetic field, causing the motor to turn.
Then there's the AC Capacitor Motor. This type uses a capacitor to create a phase shift in the current, which helps the motor start and run more efficiently. Capacitor motors can be further divided into capacitor - start and capacitor - run motors.
And of course, we have the 1 Phase AC Motor, which is a general term for all single - phase alternating current motors.
Safety First
Before you even think about wiring a motor, safety should be your top priority. Make sure the power supply is turned off. You don't want to get a nasty shock while you're working. Also, wear appropriate safety gear like insulated gloves and safety glasses. And if you're not confident in your electrical skills, it's always a good idea to consult a professional.
Tools You'll Need
To wire a One Phase AC Motor, you'll need a few basic tools. A wire stripper is essential for removing the insulation from the wires. You'll also need a screwdriver to loosen and tighten the terminal screws on the motor. A multimeter can come in handy to check the continuity and voltage of the wires. And some electrical tape to insulate the connections once you're done.
Wiring Steps
Step 1: Identify the Motor Terminals
Most One Phase AC Motors have several terminals. Usually, you'll see terminals labeled for the main winding, the auxiliary winding, and sometimes a terminal for the capacitor. The main winding is responsible for the motor's basic operation, while the auxiliary winding helps with starting.
The motor's nameplate will give you a lot of useful information. It'll tell you the voltage, current, and sometimes even a wiring diagram. Make sure to read the nameplate carefully before you start wiring.
Step 2: Connect the Power Supply
The power supply wires usually come in two colors: black for the hot wire and white for the neutral wire. Connect the hot wire to the appropriate terminal on the motor. This is often the terminal for the main winding. The neutral wire is connected to the other terminal on the main winding.
If your motor has a capacitor, things get a bit more complicated. The capacitor is connected between the main winding and the auxiliary winding. One lead of the capacitor goes to the terminal on the auxiliary winding, and the other lead goes to a connection point on the main winding circuit.
Step 3: Check the Wiring
Once you've made all the connections, double - check them. Make sure all the wires are securely attached to the terminals. Loose connections can cause the motor to overheat or not work at all.
Use your multimeter to check the continuity of the wires. You should get a reading that indicates a good electrical connection. Also, check for any short circuits. A short circuit can be dangerous and can damage the motor.
Step 4: Insulate the Connections
After you've verified that the wiring is correct, use electrical tape to insulate the connections. Wrap the tape tightly around the exposed wires to prevent any accidental contact. This also helps protect the wires from moisture and other environmental factors.
Troubleshooting
Sometimes, even after you've wired the motor correctly, it might not work. Here are some common issues and how to fix them:
- Motor doesn't start: Check the power supply. Make sure the switch is on and there's no power outage. Also, check the capacitor. A faulty capacitor can prevent the motor from starting. You can use a multimeter to test the capacitor's capacitance.
- Motor runs but is noisy: This could be due to loose parts or misaligned components. Check all the bolts and screws to make sure they're tightened. Also, make sure the motor is properly mounted.
- Motor overheats: Overheating can be caused by a variety of factors, including overloading, poor ventilation, or a short circuit in the wiring. Check the load on the motor and make sure it's within the motor's rated capacity. Also, check the ventilation around the motor. If there's a short circuit, you'll need to go back and check the wiring.
Why Choose Our One Phase AC Motors
As a supplier, we take pride in offering high - quality One Phase AC Motors. Our motors are designed to be efficient, reliable, and easy to wire. We've got a wide range of motors to suit different applications, whether it's for a small household appliance or a larger industrial machine.

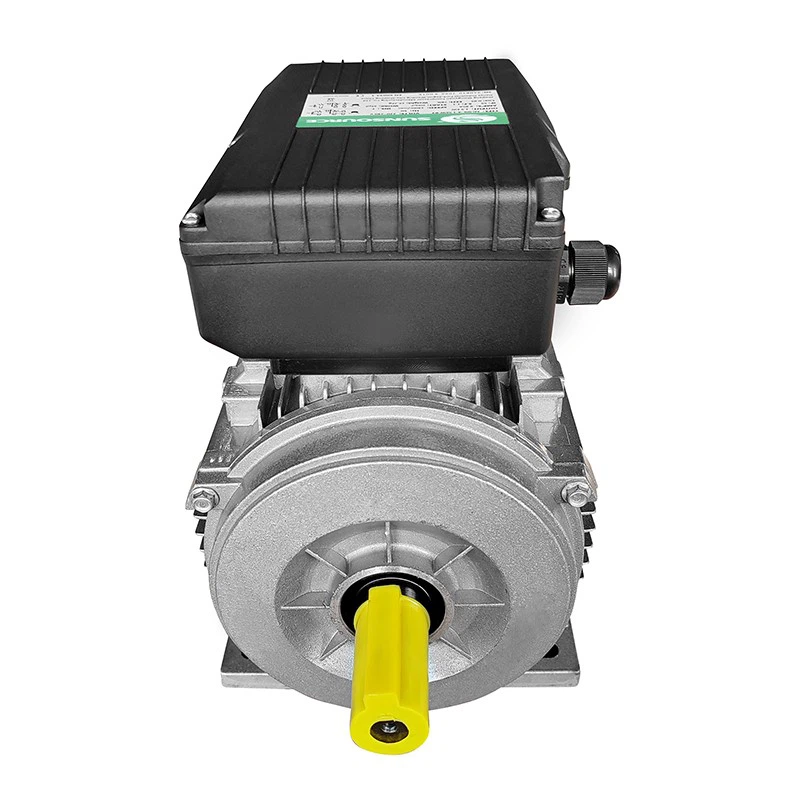
Our motors are built with the latest technology, which means they use less energy and have a longer lifespan. And if you ever have any questions about wiring or using our motors, our customer support team is always here to help.
Contact Us for Purchase
If you're in the market for a One Phase AC Motor, we'd love to hear from you. Whether you're a DIY enthusiast looking for a motor for a small project or a business owner in need of multiple motors, we've got you covered. Just reach out to us, and we'll work with you to find the perfect motor for your needs.
References
- Electrical Installation Handbook, Schneider Electric
- Motor and Drive Technology, ABB Group